Sunday, August 29, 2021

Purse Caddy, etc.

 I did a demo on a easy to make purse caddy at my little quilt guild earlier this month.  I totally forgot to post it here, despite saying that I would.  Oh well, better late than never.

I was shown a cute little purse caddy when I was at the Missouri TOGA back in June.  I was given one so that I could present the idea to my little quilt guild.  

The purse caddy came with a little sheet that included the website where she got the idea, and what the purse caddy could be used for.

note that came with the purse caddy

purse caddy I was given

purse caddy opened up

I decided to make some of these, and also make kits for all the ladies in the guild.  The lady I got my purse caddy from said that she used pot holders from the dollar store.  I went to the dollar store and bought a stack of pot holders.  The pot holders need to have the hanging loop in the center of one side, not off a corner, since the loop holds the button to close the purse caddy.

Just to let you know, I didn't check out the website Find It Make It Love It until I'd already made my samples for the demo.  It turns out that the website uses rectangular pot holders to make their purse caddys.  I used square pot holders to make mine.  I'll point out the differences between their purse caddy and mine as I go along.

Finding pot holders was easy.  Finding snack bags wasn't so easy.  I found lots of the new style that are square, but couldn't find any in the rectangle size needed for this project.  I finally found a jumbo box that had the large green ends.  Oh well, they worked, especially since I needed enough snack bags to put 6 in each kit I made (about 22 kits), plus snack bags to make my samples.  

I layered my snack bags on the pot holders, and held them in place with clover clips.  I marked a line down the center, using a chalk marker, so that the chalk line would disappear as I stitched.

ready to stitch

To make it easier to sew over all the plastic, I used a roller foot for my sewing machine.  You can also just cover the bottom of your sewing foot with blue tape to make it slide easier.  I did that for one of my samples, just to make sure it worked well, too.

roller foot and blue tape

Of course, these were all stitched on a vintage hand crank sewing machine.

1927 Singer 15 hand crank

I stitched 1/4" down either side of the line that I marked.  Here is the stitching line from the back (easier to see), and from the snack bag side.  With the square pot holders, your snack bags will overlap more than her snack bags do with a rectangle pot holder.  

stitching line from the back

from the snack bag side

Here are the first samples that I made.

4 finished samples

While shopping at Walmart, I found these cool, reusable snack bags by the kitchen utensils.  I figured I could make a purse caddy with them. The set I got at Walmart had 8 bags for $4.97.

set of 8 for less than the cost online

These bags are larger than the standard snack bag size, so I had to improvise.  I pulled out some pre-quilted fabric that I had, and made pot holders to fit these bags (9.5" square with rounded corners).  I even had some packaged binding laying around in matching colors.  I only used 4 bags for each purse caddy, so a package makes 2 purse caddys. 

2 larger finished purse caddys

inside of one purse caddy

One lady at my guild meeting loved these so much that she went out and bought all the reusable snack bags at several of the local Walmarts.  She is going to make them for several relatives that fly often, so that they can use them when they travel.  I plan on using some of mine to hold my scissors, threads, etc. for embroidery.

<><><><><><><><><><>

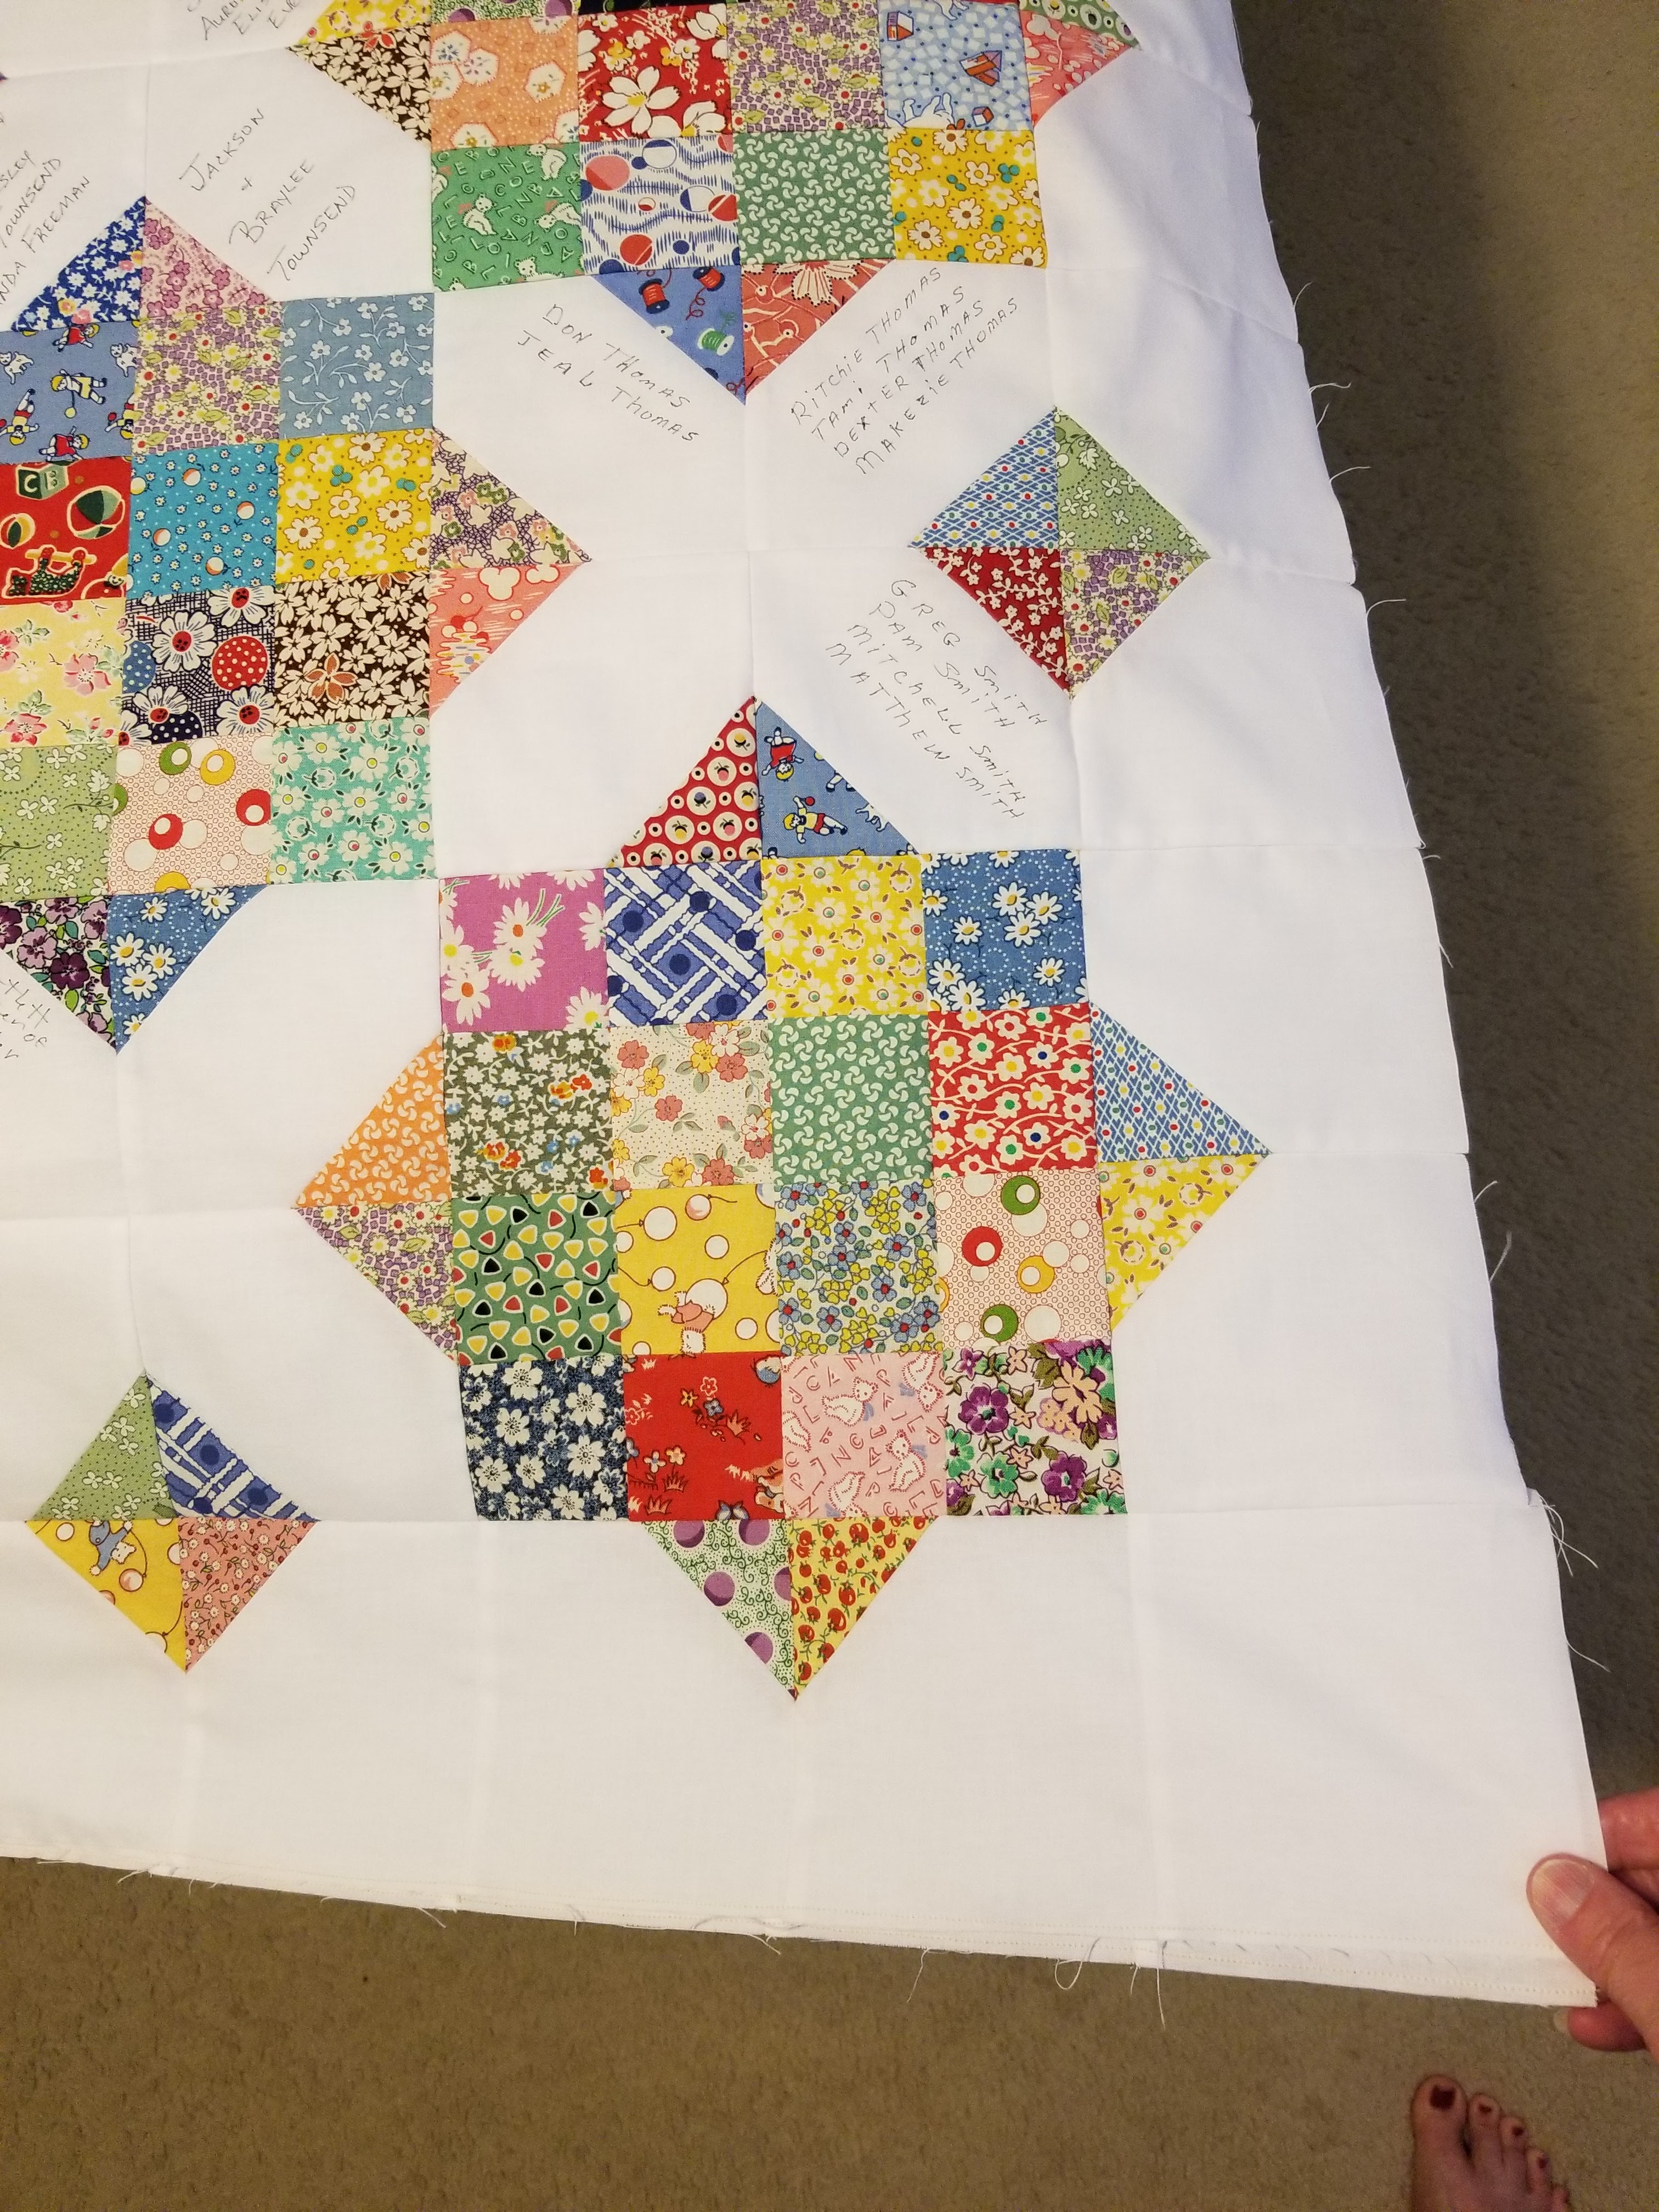
Update on the bleeding red backing fabric for my Family Reunion quilts. I tried a method that someone else recommended.  I soaked the fabrics in hot water with Dawn for 12 hours (several different times), but, this fabric still bleeds.  After washing the backing fabrics 20 times (including soaking), I gave up and bought new backing fabrics (light tan, and no bleeds).  Does anyone want 2 large backing fabrics that might turn your project pink?  Free to a good home.

<><><><><><><><><><>

Update on weight loss:

I've now lost 56 pounds in 7 months!  Woohoo!  I still have a ways to go.  Now I need to see if I have more, smaller pants in the basement that fit.  Mine are falling off.


Sunday, August 22, 2021

Finishes and Disappointment

I finished both Family Reunion quilt tops!  I've not had much sewing room time the past 2 weeks, so this took me longer than anticipated.  I've made both of these quilt tops on my Featherweight.

1939 Singer 221

I made two of these quilt tops.  One to be raffled off at the family reunion (the raffle and an auction of fun 'goods' pays for all the reunion costs) and one for me.  I'm not interested in buying a raffle ticket for something that I paid for the fabric and sewed myself (and paid the long arm quilter to quilt).  That is why I make two quilts.  These quilts are identical.  The colors are brighter in person.  Cloudy & rainy days don't make good days to take photos. (the background is bright white, and the fabrics are 1930's reproductions).

first quilt top

2nd quilt top

I had problems with the backing fabric.  I choose red with stars for the backing, but it bled so badly.  I washed the backings 10 times!  Two of those times I treated the fabric with Retayne, and 3 other times I used vinegar and salt. I washed the quilts with soap and a Color Catcher in between each time I treated the fabric.  These are the Color Catchers after washing.

Color Catchers, still showing color bleed

The last Color Catcher was still very pale pink, but I gave up.  I'll included Color Catchers with the quilt.

Here are some up close photos of the quilt, including the center square.


Center square, used as a label

As I was sewing the last seams, my mother called me to let me know that the Family Reunion had just been cancelled (again).  This was the second year that the reunion has been cancelled due to Covid.  Grrr!!!  Covid, just GO AWAY!


Saturday, August 14, 2021

Stitching Away!

 I've been working on two different projects, a machine project and a hand project.  I'm a home health care aide, and my client has lots of doctor appointments, so I've been getting lots of hand stitching done the past few weeks.  

I've been stitching on my Olde Treadleonia map.  I decided to stitch all around the block and all around the sewing machine island.  I also stitched all the waves in the water.  It just seemed easier to get those parts done first.  I've also gotten quite a lot of the locations and trails stitched.

stitching I've done so far

This is what the map looked like before I started stitching.  You can see the difference.

before any stitching

As for embroidery, I've never done anything other than back stitching until now.  I decided that the whale needed to be filled in.  Not too bad for a beginner.  I have a book with embroidery stitches somewhere.  I didn't look at it before I decided to fill in the whale.  

whale filled in

When I start back on this, I'm going to fill in the snow on the 'Here there be Dragons Mountains.'
'Here there be Dragons Mountains'

Those mountains are why Fred, Scarlet and Bumble came to live with me.  
Scarlet, Fred and Bumble


They are only a few of the dragons that live (or want to live) in those mountains.

I'm usually behind on projects (too many squirrels around here).  I'm hoping the dragons chase a few of those squirrels away, so that I can get started projects finished.  So far, they are helping.

My family reunion was scheduled for October 2020, but, like everything else, it got cancelled due to Covid.  Well, it's rescheduled for October 2021.  That means that I have to finish the raffle quilt for the reunion.  We auction off items to pay for the reunion costs, but we raffle off the quilt, so that everyone gets a fair chance to win it.  Years ago, someone would buy a cheap Chinese quilt from Walmart, have everyone sign it, then auction it off.  I was never interested in those cheap Chinese quilts, but thought about making a quilt instead.  Well, I make two quilts.  One to raffle off and one for me to keep (since I'm the one paying for all the supplies and making the quilts).  I have everyone sign two matching blocks so that the quilts will be identical.  The next reunion, there is a finished quilt to raffle off.  This is the first quilt I made (and the winner).
first family reunion signature quilt I made


Back in 2016, I also found a pattern to use for the next family reunion signature quilt.  I loved a string quilt over on The Eclectic Abuela blog.  She also has a tutorial for the quilt here. I was planning on making all the string blocks, but I get bored making string blocks after a while, so last year (when I was already behind on these quilts) I decided to make 16 patch blocks instead of strings.  I had already cut lots of squares for the corner flip blocks, and just decided to cut lots more squares for the 16 patch blocks.  This is what my box full of squares looks like 'after' I've finished all the 16 patch blocks. 
leftover squares

That box was FULL when I started.  I wanted to make sure I had enough different fabrics for each block.  I needed 100 16 patch blocks to make 2 full quilts.  I'd started putting the fabrics for each block together last October.  I hadn't touched this project again since last October.  This is what I found when I pulled this project back out in early August.
stacks of blocks, waiting to be stitched

what they looked like from the top

This was slow going, since I wanted to nest the seams, and I had to press each time I stitched.  My new seam presser came in handy. 
my new seam presser

Last night, I finished stitching and pressing all the blocks.  I have 102 of these blocks.  
102 16 patch blocks

The 'X' blocks have been finished since August 2017, along with the border blocks. Now I just have to lay them out, making sure none of the same fabrics are next to each other. I decided to make these quilts smaller, so I won't be using all the blocks for these 2 quilts.  I think I can get a 3rd quilt out of the extra blocks.  

Now you know what I'll be working on this weekend.  I also need to make a pin cushion for the Treadle On Pin Cushion exchange (to be mailed by September 1st).  I'll be switching back and forth between my Featherweight (Betty Sue) and my 1927 Singer 15 hand crank, since the pin cushion has to be made on a people powered sewing machine.  Thank goodness I have a double sewing machine cabinet (no, it doesn't look that neat and cleaned off now).  If I took a photo of how messy is is now, you'd wonder how I got anything done.  

What are YOU working on this weekend?


Friday, August 6, 2021

Katie (2008-2021)

We lost our little Cavalier King Charles Spaniel, Katie today.  We got Katie when she was 4 months old.  That was 13 years ago this week. 


Katie was our 'Queen Katie' and 'Diva Dog'.  She ruled the roost and all the other dogs in the house.  Katie was also my little 'Velcro' dog, since she had to be in whatever room I was in.  She had dog beds in almost every room of the house.  She loved to be in my sewing room, and if I wasn't spending enough time in my sewing room, she'd bark at me to get me to go in there.  

her bed in the kitchen (under a sewing machine)

Halloween, in her lobster costume (the kids loved her)


next to my computer desk


on the bed with me

getting ready to go in the canoe 

in my sewing room (under another sewing machine)


Katie had bad knees, but still wanted to go for walks, so we got her a stroller.
in her stroller (the stroller was free, not the dog ;)


Katie will be greatly missed in our family.